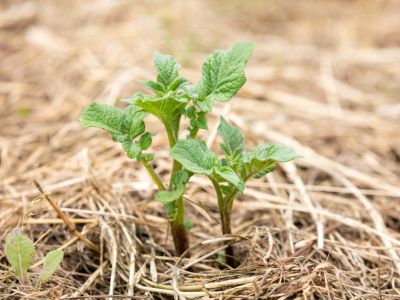
Instructions for Starting a Straw Bale Garden
Purchase bales of straw from a farmer’s market or a local farmer. The big box stores offer decorative straw bales during the autumn holidays, but they are small and not suitable for growing plants in a straw bale garden. Bales of hay can also be used for this type of garden, but are more prone to sprouting weeds. You’ll save yourself some effort if you buy the bales in fall before you begin planting in spring. Growing plants in a straw bale garden requires that bales are conditioned before you begin planting. If you buy the bales in fall, they’ll be watered from snow and rainfall. If you purchase at the beginning of the planting season, you can condition them in a two week period. Straw bale garden instructions direct you to water bales well for three to four weeks before using this method. Locate the bales in their permanent area. Straw bale garden instructions say each bale will hold two or three tomatoes or squash, four to six peppers, or two pumpkins. You can plant seeds in the bales according to directions on the package. Growing root crops in a straw bale is more challenging. Add compost, seed-free soil, or bone meal to the top of the bale, before starting a straw bale garden. Water in well. Urea can be used as a bale amendment, as can fish emulsion or fertilizer. Make sure bales stay damp. After two weeks of preparing the bale, stick your hand inside the bale to determine warmth. If the temperature is cooler than your body temperature, you’re ready for starting a straw bale garden.
Straw Bale Garden Maintenance
Place plants as you would in the ground, being careful not to cut the twine that holds the bale together. Straw bale garden maintenance includes regular watering. Consider using a soaker hose for ease of irrigation. Straw bale garden maintenance will include regular fertilization as well.
